How to create API using Fiber in Golang

How to create simple API using golang and express like Fiber package


Golang is a programming language developed by Google. It can used to create cloud services, web , CLI tools etc. The first step to use Go is download and install the SDK.

Basic setup

To build basic API in Golang we need following packages

go get -u github.com/gofiber/fiber/v2

Fiber is express inspired library, if you were familiar with Nodejs express package, no worries . In the main.go file add the following

package main

import  
("github.com/gofiber/fiber/v2"
"fmt"
"log"
)
 
func api(c *fiber.Ctx) error {
    msg := fmt.Sprintf("✋ %s", c.Params("*"))
    return c.SendString(msg) // => ✋ register
}


func index(c *fiber.Ctx) error {
    return c.SendString("I am Fiber") // => ✋ register
}


func main(){
	app:= fiber.New()
    app.Get("/",index )
    app.Get("/api/*",api )
    log.Fatal(app.Listen(":3000"))
}

Here we create a Fiber router instance which can be used to create API route. We also define handler function for the API too.

:= is the short hand in Golang for creating variables

Run the project

By using go run . or go run main.go can execute the program.

Create API with Prisma + Express + Server Middle Ware in Nuxt

Create a API using serverMiddleware , Prisma and Express in Nuxtjs


Setup Prisma ORM for Nuxtjs project

An API requires special server middleware in nuxt, also we need to create a custom route, express framework will help us manage the route, Prisma ORM, a minimal configurable mapper for managing database.

Prisma is a ORM for JavaScript and Typescript, it let developers easily configure, create / migrate databases using models. One of the cool feature I love mostly is that , it can be configured with few CLI commands like init, migrate

View and Run the code @ sandbox

Setup Prisma

For initializing the Prisma install the developer dependency npm i -d prisma and initialize prisma with

npx prisma init

It will generate necessary files under Prisma folder, please open the file and configure database and models. For demonstration I have configured a Sqlite database, you can use other databases like mysql, postgres, Mongodb etc.

//schema.prisma

datasource db {
 provider = "sqlite"
 url      = "file:./dev.db"
}

generator client {
 provider = "prisma-client-js"
}

model Contact{
 id String @id @default(uuid())
 name String
 email String
}
 

Note the id field in the model, it is a primary key and also auto filled by the uuid() function. One you done models go to generate the real database with migrate command

npx prisam migrate dev --name init

This will generate the tables using the models we defined, to make sure we can use the prisma studio which runs on the port 555, also a standalone studio app is available.

In the future we can modify and rerun the migrate command for updating the tables, which will drop the tables and re-create for us.

// run in new terminal
npmx prisma studio

How to use in our Nuxtjs app

In the nuxtjs app we need the dependency @prisma/client, let’s add them to our project

nmp i -s @prisma/client

In the Nuxt app , we can setup internal API for interacting with database using server middleware.

API routes

In the project folder create a folder api and inside the folder create a file index.ts

For create routes, we can use the express framework the API should export the handler as in Nextjs.

index.ts
import express from "express";
import { PrismaClient, Todo } from "@prisma/client";
const app = express();
const prisma = new PrismaClient();
app.use(express.json());

app.get("/", (req, res) => {
 res.json("Wlcome to API");
});

app.get("/todos", async (req, res) => {
 const todos = await prisma.todo.findMany();
 res.json(todos);
});

export default {
 path: "/api",
 handler: app
};

Nuxt-config

For using Prisma client we need to use PrismaClient object. The API would not work at this point, it also required setup a middleware in the dedicated nuxt-config.

export default {
 // Disable server-side rendering: https://go.nuxtjs.dev/ssr-mode
 ssr: false,
 serverMiddleware:[
   '~/api/index.ts',
] ,  
   .....

and now the api can be accessed at http://localhost:3000/api

Create API with Apollo + graphql + Prisma + Express in Nuxt

How to create a API with Apollo, graphql, Prisma and express


Graphql

Graphql is modern an alternative approach for the REST API invented by Facebook. It is used for fetch data from a server and put data back to a server , just like the regular API does.

The Graphql shines where you want to fetch few data (required), where REST API fetch a bunch of data, it may cause fetching too much data. API have multiple end points where graphql have one. One of the problem with graphql, it is not simple to create a graphql server, even though once it has been done ,using them is quiet simple.

Apollo and Express

With Apollo server we can build and run a graphql server, for creating route for our graphql end point can utilize the node developers favorite express module

Prisma

Prisma is a ORM for JavaScript and Typescript, it let developers easily configure, create / migrate databases using models. One of the cool feature I love mostly is that , it can be configured with few CLI commands like init, migrate

Setup Prisma

For initializing the Prisma install the developer dependency npm i -d prisma and initialize prisma with

npx prisma init

It will generate necessary files under Prisma folder, please open the file and configure database and models. For demonstration I have configured a Sqlite database, you can use other databases like mysql, postgres, Mongodb etc.

//schema.prisma
​
datasource db {
  provider = "sqlite"
  url      = "file:./dev.db"
}
​
generator client {
  provider = "prisma-client-js"
}
​
model Todo{
  id String @id @default(uuid())
  item String
  
}
  

Note the id field in the model, it is a primary key and also auto filled by the uuid() function. One you done models go to generate the real database with migrate command

npx prisam migrate dev --name init

This will generate the tables using the models we defined, to make sure we can use the prisma studio which runs on the port 555, also a standalone studio app is available.

// run in new terminal
npmx prisma studio

In the nuxtjs app we need the dependency @prisma/client, let’s add them to our project

nmp i -s @prisma/client

How to create a Apollo-graphql-server in Nodejs

How to setup a graphql server using Apollo framework and express


Graphql is an alternative approach for the REST API invented by Facebook. It is used for fetch data from a server and put data back to a server , just like the regular API does.

The Graphql shines where you want to fetch few data (required), where REST API fetch a bunch of data, it may cause fetching too much data. API have multiple end points where graphql have one. One of the problem with graphql, it is not simple to create a graphql server, even though once it has been done ,using them is quiet simple.

Play with full code + Graphql Playground in Sandbox

Apollo and Express

With Apollo server we can build and run a graphql server, for creating route for our graphql end point can utilize the node developers favorite express module

Dependencies and Setup

To get started we need to create a folder project and then cd into the folder npm init -y for generating pacakge.json.

We also need to install few Apollo dependencies along with express.

npm i -s apollo-server apollo-core express nodemon

nodemon help us to detect changes and automatically restart server for us.

let’s open the folder in VS Code and create a index.js file ( in root directory ) and also create a script in package.json for running the server as follows

//package.json
"scripts": {
   "test": "echo \"Error: no test specified\" && exit 1",
   "start": "nodemon ./index.js"
},

Mock Data

We also have users list which is used to show some mock data create users.js files with following content in the project root.

//users.js
const users =[
  {
       name:"Dev",
       role: "DBA",
       id:1
  },
  {
       name:"Jhon Doe",
       role: "Admin",
       id:2
  },
  {
       name:"Martin",
       role: "Dev",
       id:3
  }
]
module.exports = users;

Create a docker image of Node-Express API – Part II

How to build Node-Express project Docker Image using Node base image


In this post which is the continuation of Node-API Docker Image ( the Links are at the end of the post), create and run container using the image we build.

Lets check the existence of the image in docker using

docker image

Create the container

To build a container to run the API we need only the Image , all the depending Image will be automatically download by Docker.

docker run --name customer -d -p 3000:3000 user-api:latest

The above command will run, customer API in detached mode on port 3000.

Stop and Resume the container

We can stop running a container at any time using docker stop <id/name> and resume with docker start <id/name>

Following Docker Post may deserve a good read

How to clear all element in mongoose object array in Nodejs

How to clear elements in a mongodb object array


Mongoose array can set of objects basically a reference to other mongoose document placed in other document. Our task is to clear all element stored in MongoDB array of objects.

To clear we can use pull or simply an assign a blank array ([]). In our Post example we had tags array.

post.tags=[]

[] will clear all of the tag id in the tags object array

Use dotenv to store configurations in Reactjs

use dotenv in Reactjs to store API base URL


A modern Reactjs app can be consisting of multiple components, connection to different databases, APIs etc. In other Nodejs projects we can use the dotenv package to store configuration details and can access with process.env.

Is dotenv useful for Reactjs ? Yeh.

Suppose you have using an API in many of the components and wanna some correction in API path, may be a change in basic URL. What we do ? Go through all of the component and change the base URL. Tiresome job !

For such case place the URL in .env (/src) file and use the process.env.REACT_APP_API_SERVER in all of the component. Yo need to change only the .env file for updating base URL.

First up all install the package using

npm i dotenv

and in the App.js , require the package as follows and use it in the component

....
require("dotenv").config();
 .get(`${process.env.REACT_APP_API_SERVER}/post/find`)
      .then((response) => {

        if (response.data.length > 0) {
          this.setState({
            posts: response.data,
          });
        }
      })
      .catch((error) => {
        console.log(error);
      });

How to export multiple components in Reactjs

How to render export multiple components in React


Usually we organize components React components in separate files. But for smaller components associated with component we are using need not be placed in operate file. In short it is possible to place multiple components in a single js file and export them.

 .....
  our component codes goes her

module.exports= {Post,Tags,Comments}

In the above fashion we can export the components and can import the components as follows

 const {Post,Tags,Comments} =from './components'

How to create ant row design for Reactjs

Quickly create a row design using Ant Design customize UI for React component


We are already learn how can utilize the antd for a Reactjs projects. Let’ quickly design a rows with columns ( a grid design) using the easy to use customize UI provided by Ant Design .

Go to Ant Row documentation , adjust the gutters and column count and click the copy code icon and past it where ever you need them.

Following ant design posts deserve good read

Ant layout for Reactjs apps

How to create a app layout with Ant Design UI Kit in Reactjs


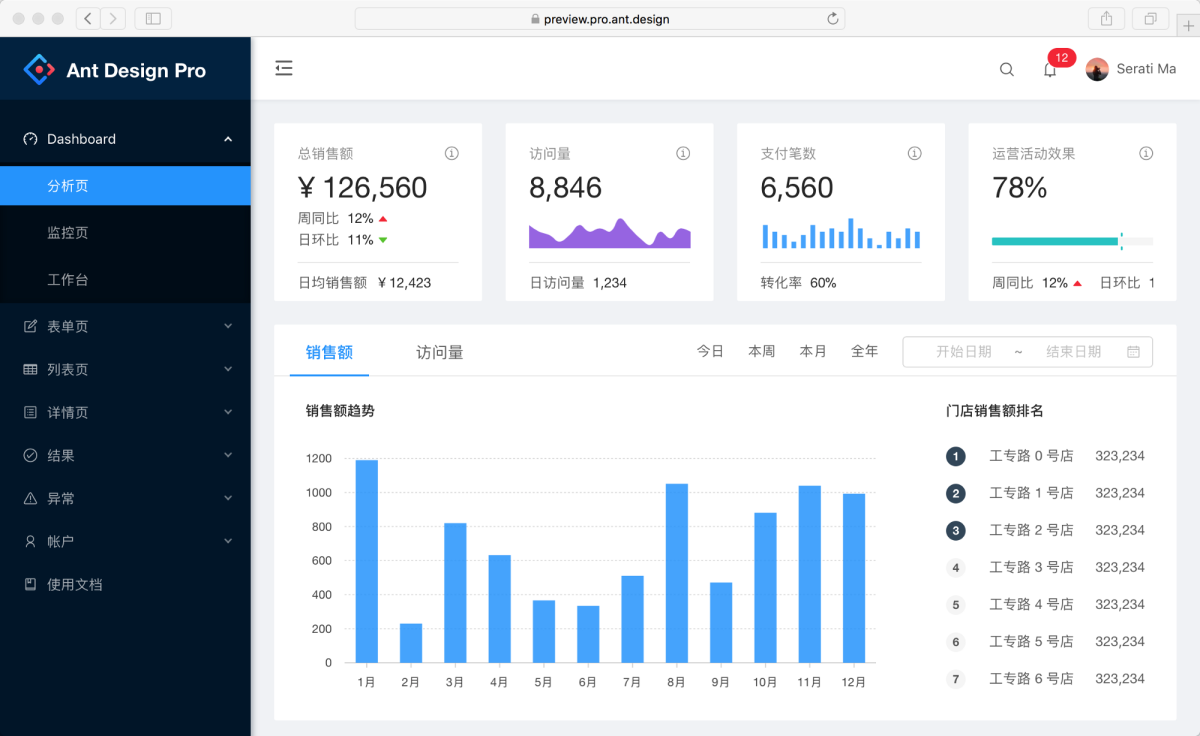
Ant Design is a UI Kit for developing beautiful web app and it is the second most popular one, it is just like Bootstrap we are familiar. In fact many apps have using multiple UI kits, there are plenty of UI kit available.

Install antd

Using Layouts we can create a skeleton structure of the app, which includes header, footer and content section. For using them in our React app, install the package using

npm i antd

Import Ant Design components

In our app.js we need to import the package extract the header,content,footer objects and also the css for beautify the objects as follows.

import { Layout} from "antd";
import "antd/dist/antd.css";
const { Header, Content, Footer } = Layout;

Create app layout

We have everything we needed, the Header,content,Footer components , Lets organize our app layout in app.js file of React app,

<Router>
<Layout className="layout" style={{ background: "##f759ab" }}>
      <Header>
        Your custom header components here
      </Header>
      <Content style={{ padding: "0 15px" }}>
      <Route path="/about" exact component={AboutUs} />
        You can place more routes/content here 

      </Content>
      <Footer style={{ textAlign: "center" }}>
        space for custom footer component
      </Footer>
    </Layout>
</Router>

That is the basics of the antd, explore more on he Ant for Reactjs

Following ant design posts deserve good read