How to build a blog using Tailwind + Graphql + Nextjs

Create blog front end using React-Nextjs and Urql – Graphql


We had tried blog with Nuxt 3 and the Solidjs and it is 😎. If you miss the guide here it is.

About the blog and How ?

Let’s build the same blog using Nextjs and the URQL + TailwindCSS. The backend for the app can be from a graphql API , and in this project we used mockend (we can create a mockend Graphql API using mockend and Github )

Here is what we working on .

  • Dynamic route
  • Mockend API
  • Custom 404 component
  • Category Title transition
  • URQL – Graphql client
The complete source code can be found on GitHub , feel free to fork and share.

The Project Structure

The project structure

TailwindCSS

First thing we need to setup is the TailwindCSS which help us to create responsive CSS using the utility classes.

Here is further guide on Tailwind on Nextjs in case require.

Pages

We nee a set of pages and dynamic route for posts and category posts. In Nextjs we can easily setup pages/route under pages directory.

404

The 404 page can be setup as a route that match all, any non existing route/page.

Under the page directory create […].js with default export

import React from 'react'
import PNF from '../Components/PNF'
export default function ErrorPage() {
  return (
    <PNF/>
  )
}
  

Here PNF is beautiful animated PageNotFound component, we just created in the component directory.

Using useRouter/next/router, we can access the params of dynamic route.

Dynamic route

Layout

Our blog uses single layout, so we go with a Layout component which define Navbar and footer and a content area and implement the layout in the _app.js as follows.

//Layout.js

import Nav from './Nav'
export default function Layout({children}) {
    return (
      <>         
        <div className="bg-gray-100">
          <Nav />
          <div className=" items-center overflow-auto h-screen">
           <main> {children}</main>
          </div>
        </div>
      </>
    );
  }

//_app.js
....
function MyApp({ Component, pageProps }) {
  return (
    <Provider value={client}>
      <Layout>
        <Component {...pageProps} />
      </Layout>
    </Provider>
  )
}
 

The Layout component saved under the components folder.

Components

We need a set of components to serve in the routes. So lets build it.

The components structure.

I don’t want to pull all the code here.. Here is the code page. Copy and paste it to your components 📂.

Fetching the posts

For querying the data I prefer the URQL library which provides hook for querying data.

Setup Urql

Install the dependency

 yarn add urql graphql 

Also need to configure some next-config

 publicRuntimeConfig: {
    GQL_HOST:'https://mockend.com/manoj-ap/mockbackend/graphql',
    NAV_MENU:[{caption:"Home",path:"/"},{caption:"Blog",path:"/post"},{caption:"Category",path:"/category"},{caption:"About",path:"/About"}],
  } 

You may also note that the NAV_MENU, it is rendered in the Nav component. We can add menu to the list and nav will render it.

Dynamic Menu [nav]

Let’s setup Urql for our project in _app.js using the next-config settings.

import Layout from '../Components/Layout'
import '../styles/globals.css'
import { createClient, Provider } from 'urql';
import getConfig from 'next/config'
const {  publicRuntimeConfig } = getConfig()
const client = createClient({
  url: publicRuntimeConfig.GQL_HOST,
});
function MyApp({ Component, pageProps }) {
  return (
    <Provider value={client}>
      <Layout>
        <Component {...pageProps} />
      </Layout>
    </Provider>
  )
}

export default MyApp
 

We wrap the component with Provider so that the entire component tree can use the client.

Querying data

In the index we can query the list of posts as follows

import PostGrid from '../components/PostGrid'
import { useQuery } from 'urql';
import { GridSkelton } from '../Components/Skeltons';
import { useEffect, useState } from 'react';
export default function Home() {
  const query = ` query {
    posts {
      createdAt
      title
      id
      excerpt
      featured_image
    }
  }`;
  
  const [result, reexecuteQuery] = useQuery({
    query: query,
  });
  const { data, fetching, error } = result; 
  return (
    <div  >
              
          {data ? <PostGrid  posts={data.posts}  />:<GridSkelton/> }  
    </div>
  )
}
 

I thing we are almost done. Anything left unclear to 🧒?. Let me know. I will -[…code] 🚀

Lit web components

About Litjs custom web component and Frameworks


Lit is a Javascript library from the house of Google. It is a tiny library and can be a powerful tool for develop reusable web components and apps.

We can create native web component/custom html Tags using Lit with reactivity and other feature mostly offered by libraries like Reactjs.

Also note that it is possible to create custom HTML tags not using any of these libraries, but with a simple Vanilla script.

These libraries simplify our tasks.

Lit web components is compatible with React, Vue or even with HTML pages.

React example

Here is a React Lit example.

Lit Animation

I love making Lit component, do you? 😆

Quill without toolbar

Create quill editor without toolbar


We can easily create a Quill editor for our react app with react-quill library. How do we create an editor without toolbar ?

Set the toolbar configuration to false, that’s all you need.

modeules={
        toolbar: false,}
....
  <ReactQuill   
  placeholder="#tags here"
  modules={this.tagModeules}>
       
   <div className="my-editing-area" />
  </ReactQuill>

Quilljs mention snippet

React Quilljs mention snippet


We have already covered post regarding Quilljs RichText Editor, configuration and advanced use as well. Now time to get some more feature. This time add some 🥤 to it, the mention.

import React, { Component } from 'react';
import ReactQuill from 'react-quill';
import 'react-quill/dist/quill.snow.css';
import 'quill-mention/dist/quill.mention.css';
import 'quill-mention';
const atValues = [
{ id: 1, value: 'Fredrik Sundqvist' },
{ id: 2, value: 'Patrik Sjölin' },
];
export default class Editor extends Component {
constructor(props) {
super(props);
}
tagModeules = {
toolbar: false,
mention: {
allowedChars: /^[A-Za-z\sÅÄÖåäö]*$/,
mentionDenotationChars: ['@', '#'],
source: function (searchTerm, renderItem, mentionChar) {
let values;
if (mentionChar === '@' || mentionChar === '#') {
values = atValues;
}
if (searchTerm.length === 0) {
renderItem(values, searchTerm);
} else {
const matches = [];
for (let i = 0; i < values.length; i++)
if (
~values[i].value.toLowerCase().indexOf(searchTerm.toLowerCase())
)
matches.push(values[i]);
renderItem(matches, searchTerm);
}
},
},
};
handleProcedureContentChange = (content, delta, source, editor) => {
let has_attribues = delta.ops[1].attributes || "";
console.log(has_attribues);
const cursorPosition = e.quill.getSelection().index;
this.quill.insertText(cursorPosition, "★");
this.quill.setSelection(cursorPosition + 1);
};
render() {
return (
<div class="flex flex-row">
<div>
<label className="" for="tags">
Post Tags
</label>
<ReactQuill
id="tags"
style={{ height: 150 }}
placeholder="#tags here"
modules={this.tagModeules}
>
<div className="my-editing-area" />
</ReactQuill>
</div>
</div>
);
}
}

Here is a live example and try yourself.

react-editor-js double instance fix

How fix double instance issue in react-editor-js block editor toolkit


React-Editor-js is a toolkit for react which implement the Editorjs ,block editor in React application.

The Bugg🐛

When you trying to implement the toolkit into a modern React application you may got double instance of the Editor 👇. I don’t know why it is happening, 😔.

Fix

The problem her is not with the versions but the react-dom/client(🤔). My regular index.js look like this.

import React from 'react';
import ReactDOM from 'react-dom/client';
import './index.css';
import App from './App';
import reportWebVitals from './reportWebVitals';

const root = ReactDOM.createRoot(document.getElementById('root'));
root.render(
  <React.StrictMode>
    <App />
  </React.StrictMode>
);
 
reportWebVitals();

To fix our current issue I replace index.js as following with ReactDom.render method and the problem will melt away. 😊

import ReactDOM from "react-dom";
import React from "react";
import App from "./App";

const rootElement = document.getElementById("root");
ReactDOM.render(<App />, rootElement);
 
reportWebVitals();

If anybody have a better solution for this, please leave in the comment section.

Create Quill RichText editor using react-quill

How to use React Quill toolkit in React


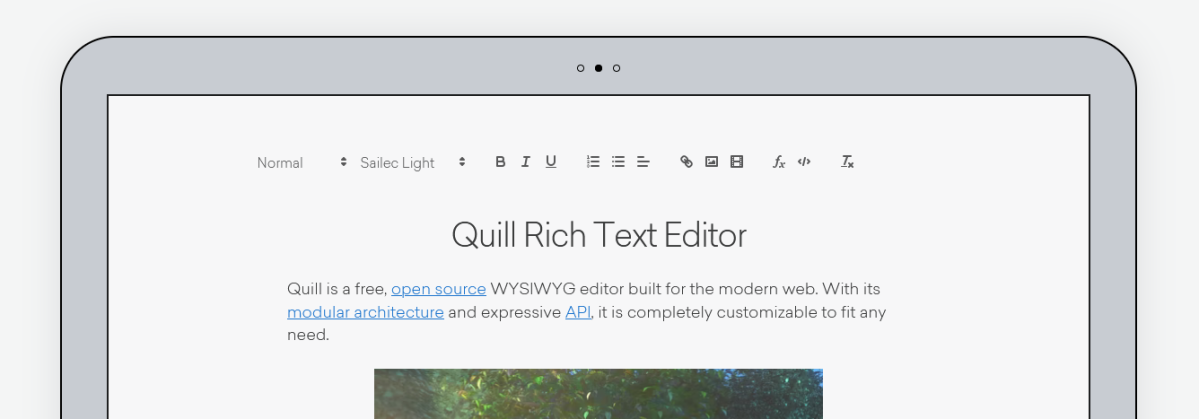
Quilljs is a Javascript editor for enriching the web applications. The toolkit was used by companies like, LinkedIn, Slab etc.

How to use Quill in React

For React we can use community libraries such as react-quill. Let’s setup a React project and install the dependencies.

npx create-react-app myapp
yarn add react-quill quill

We can use the the <ReactQuill/> component render the editor as follows.


import ReactQuill from "react-quill";
import React, { Component } from "react";
import "react-quill/dist/quill.snow.css";

function MyComponent() {
  const [value, setValue] = React.useState("");

  return (
    <div>
      <ReactQuill theme="snow" value={value} onChange={setValue} />
    </div>
  );
}

The styling (CSS) may not work properly, for that import the CSS class provided by Quill.

 import "quill/dist/quill.snow.css";  

A live version of the project can be found at sandbox , in case required.

Links

React-Quills

React-quill double instance fix

How fix double instance issue in react-quilljs


React-quill is a toolkit for react which implement the Quilljs editor in react application.

When you trying to implement the react-quill into a modern React application you may got double instance of the Editor 👇. I don’t know why it is happening, 😔.

React-quill editor

Fix

The problem her is not with the versions but the react-dom/client(🤔). My regular index.js look like this.

import React from 'react';
import ReactDOM from 'react-dom/client';
import './index.css';
import App from './App';
import reportWebVitals from './reportWebVitals';

const root = ReactDOM.createRoot(document.getElementById('root'));
root.render(
  <React.StrictMode>
    <App />
  </React.StrictMode>
);
 
reportWebVitals();

To fix our current issue I replace index.js as following with ReactDom.render method and the problem will melt away. 😊

import ReactDOM from "react-dom";
import React from "react";
import App from "./App";

const rootElement = document.getElementById("root");
ReactDOM.render(<App />, rootElement);
 
reportWebVitals();

If anybody have a better solution for this, please leave in the comment section.

How to get HTML from Remirror editor in Reactjs

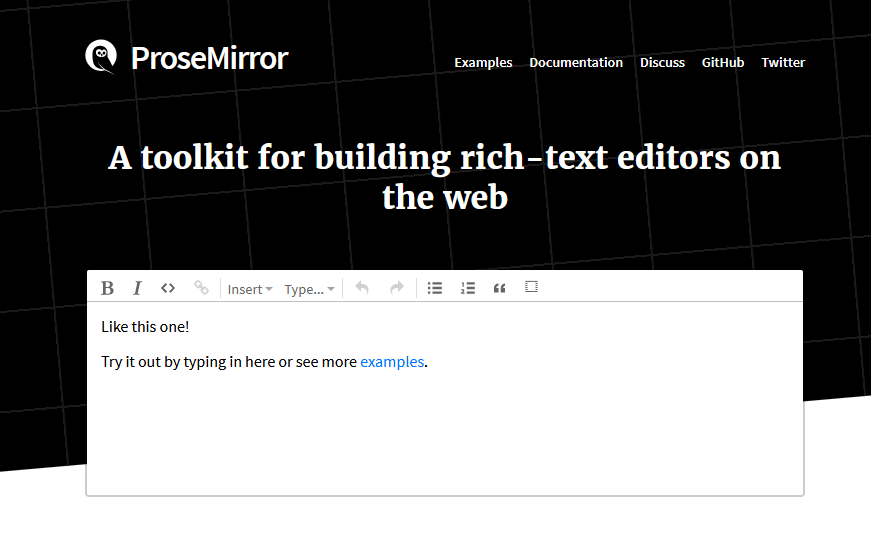
How to get HTML from proseMirror editor using Remirror in Reactjs


We have learned how to setup basic proseMirror editor in React using remirror toolkit. How to access the state as HTML ?

Remirror allow us to use a onChangeHTML component and then we have to define handler for accessing a state.

First import the component remirror react.

import { OnChangeHTML } from "@remirror/react"; 

Secondly include the component in Remirror editor as follows

const RichTextEditor = () => {
  return (
    <div>
      <WysiwygEditor placeholder="I am a text">
        <OnChangeHTML onChange={handleChange} />
      </WysiwygEditor>
    </div>
  );
};

Let’s define the handleChange and access the state. For simplicity we output the HTML to console.

const handleChange = (data) => {
  console.log(JSON.stringify(data));
};

That’s all , 😊.

Open the code in Sandbox

How to get state as JSON from Remirror editor in Reactjs

How to get JSON from proseMirror editor using Remirror in Reactjs


We have learned how to setup basic proseMirror editor in React using remirror toolkit. What about accessing the state / JSON ?.

Remirror allow us to use a onChange component and then we have define handler for accessing a state.

First import the component remirror react.

import { OnChangeJSON } from "@remirror/react"; 

Secondly include the component in Remirror editor as follows

const RichTextEditor = () => {
  return (
    <div>
      <WysiwygEditor placeholder="I am a text">
        <OnChangeJSON onChange={handleChange} />
      </WysiwygEditor>
    </div>
  );
};

Let’s define the handleChange and access the state. For simplicity we output the JSON to console.

const handleChange = (json) => {
  console.log(JSON.stringify(json));
};

That’s all , 😊.

Open the code in Sandbox

How to get content from Quilljs in React

How to read content from Quilljs Editor in React


Using react-quilljs we can add a RichText Editor in to our web application (Reactjs). How do we get the contents/state ?

We can use the quill object return by the hook to access the state.

  const { quill, quillRef } = useQuill(); 

Trying to access the data directly ends up with error. We need useEffect hook to keep track of the content.

  React.useEffect(() => {
    if (quill) {
      quill.on("text-change", (delta, oldDelta, source) => {
        console.log("Text change!");
        console.log(quill.getText()); // Get text only
        console.log(quill.getContents()); // Get delta contents
        console.log(quill.root.innerHTML); // Get innerHTML using quill
        console.log(quillRef.current.firstChild.innerHTML); // Get innerHTML using quillRef
      });
    }
  }, [quill]);

Now we can us the quill on method for track changes through a function as above. For getting Text only we can use getText() method, for entire object delta we require getContents() and for HTML can rely on innerHTML.

See the CodesandBox for a live example